 Working with Formatting Options
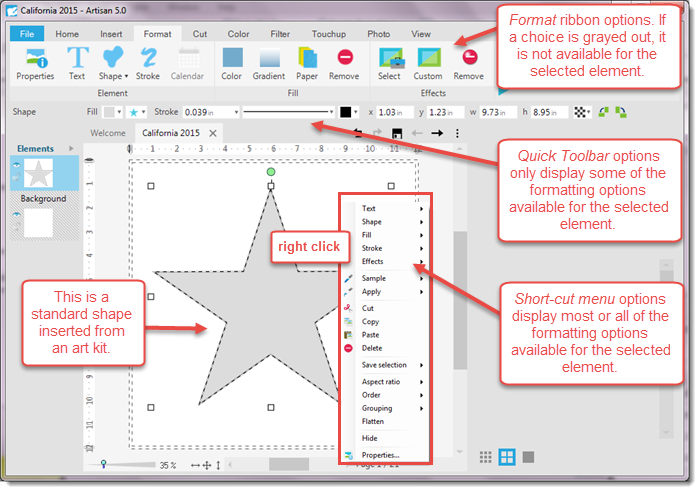
Once you have created or inserted an element onto your page, you have many options to decorate—or format—that element. Formatting options can be accessed either on the Format ribbon, by right-click menus, or from the Quick Toolbar.
What Are My Options?
To see what is available for the element you want to decorate, first select it. The following diagram illustrates how to then get to your formatting choices.
Some fun formats that you may want to apply to an element include:
Using Text to Format an Element
Text can be used as a special formatting technique to an element that already exists on your page. Artisan allows you to either fill the element with text of your choosing, or make it wrap around the element.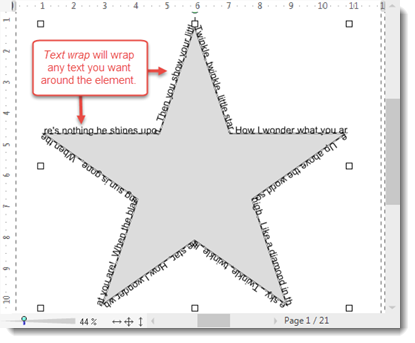
- Select the element to which you want to apply the text format.

- From the Format ribbon, Element section click
 .
.
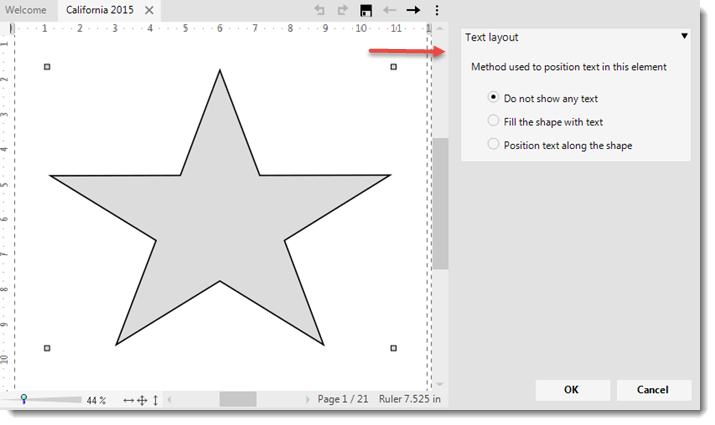
The Text Layout pane opens.
- Choose a layout style and associated options. Follow instructions for each on the following diagrams.

| Layout Style | Description |
|---|---|
| Fill the shape with text | 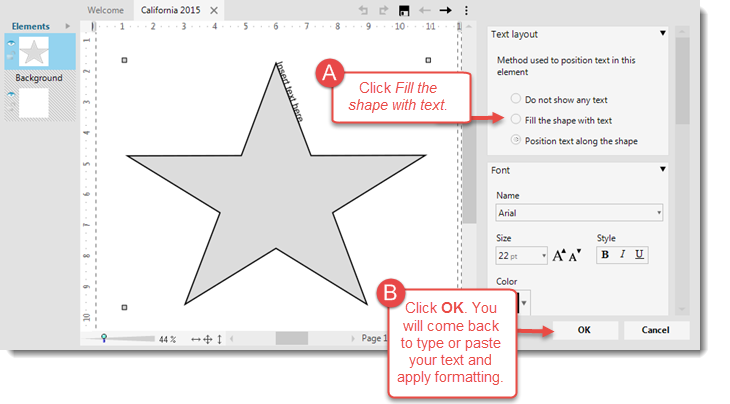
|
| Position text along the shape | 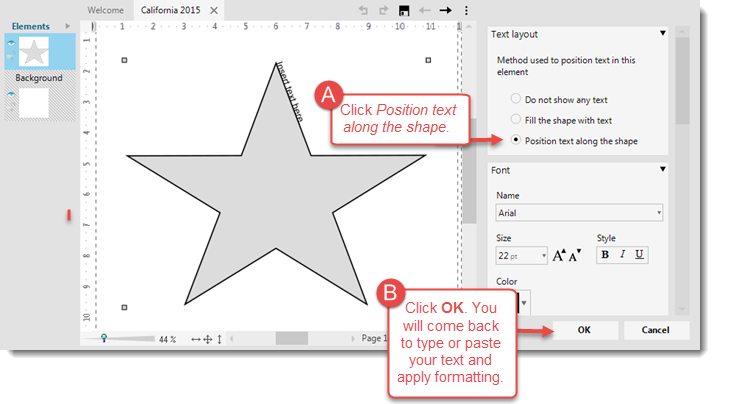 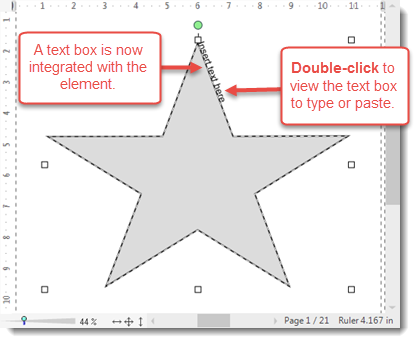 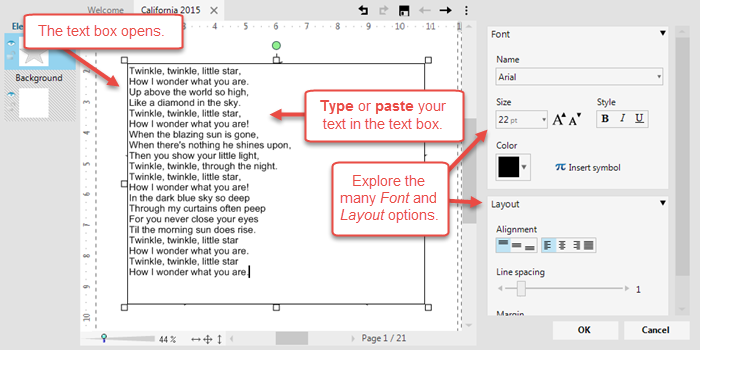 |
Applying a Stroke to an Element
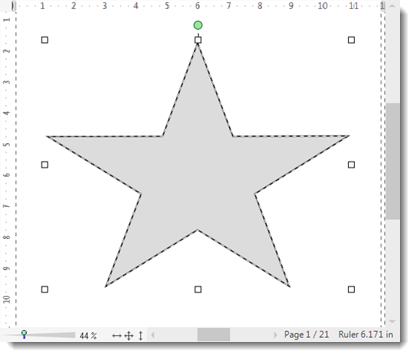
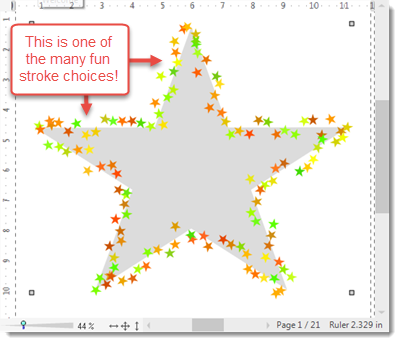
A stroke is basically a fancy line style that outlines the element. Sometimes you will want to make the outline disappear. Then there are other occasions when you will want the outline of an element to pop! That's where strokes come in.
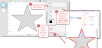
- Select the element to which you want to apply the stroke format.

- From the Format ribbon, Element section click
 .
.
The Stroke pane opens.
- Follow the directions in the diagram below to complete your stroke.


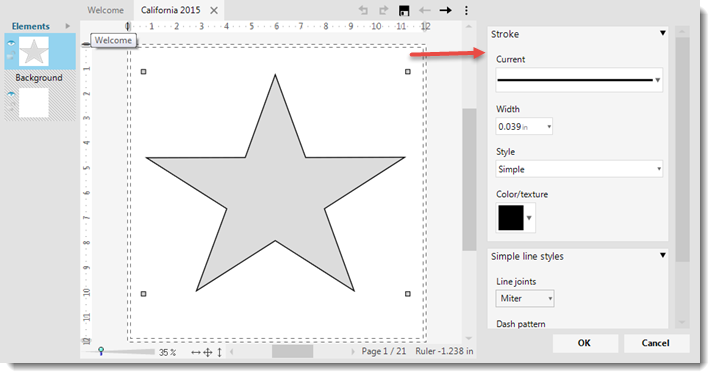
Note: Once you apply a stroke, it becomes part of that element. If you copy or save the element to an art kit, the new strokes copy and save as well.